A.1 Basics
This tutorial will give you a basic step by step master for creating Fiber Patch Placement model for a gear box.
A.1.1 Patch Artist
A.1.1.1 Import the CAD model file
Access the
Importdrop-down in one of the following ways:From the Menu bar, choose File > Import.
From the Quick access toolbar, click Import.
From the Import drop-down in the ribbon bar, click
Import part.Under File selection, browse to select the file, gear_box.step.
Click on
Import.The file, gear_box.step, is now imported into the session.
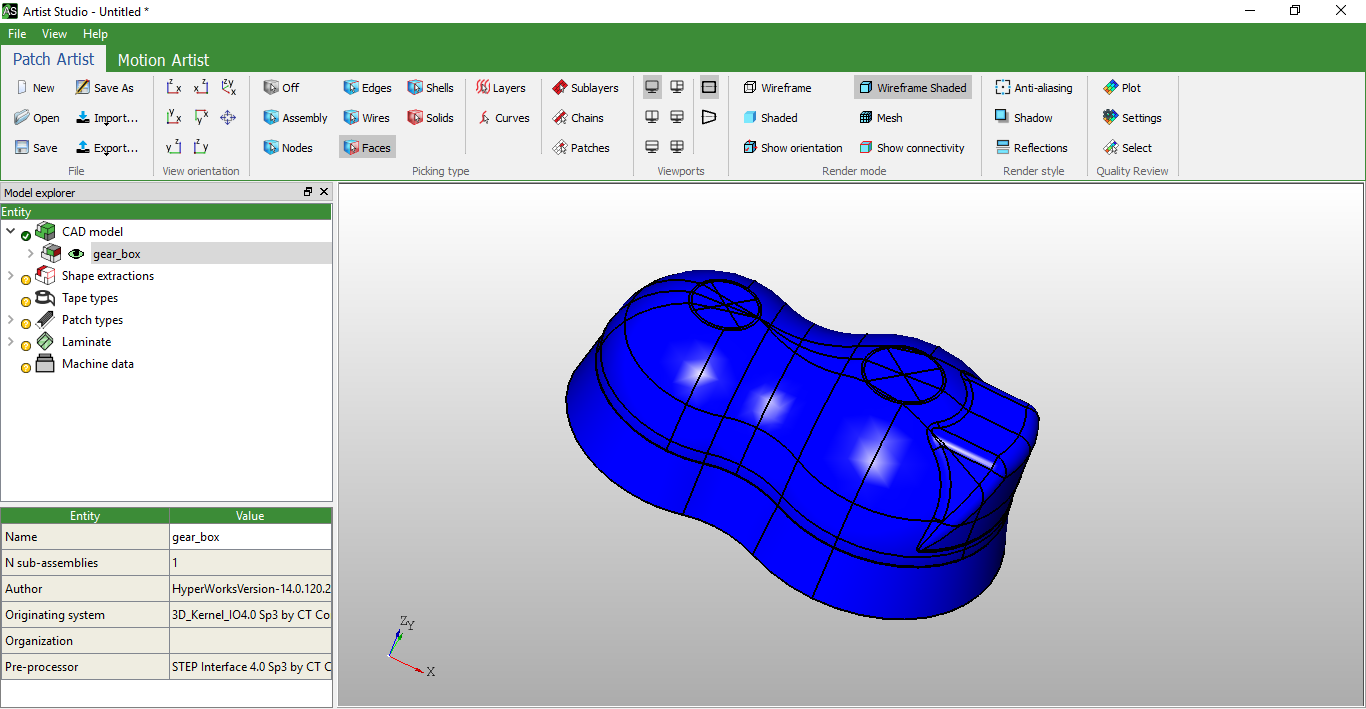
Fig. 1 Click on the image to zoom.
A.1.1.2 Check and correct normals
Click on the option
Show orientationfrom the Ribbon bar under the Render mode group.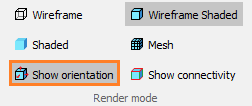
Select an assembly or a face of the imported CAD model for which you want to check the normals.
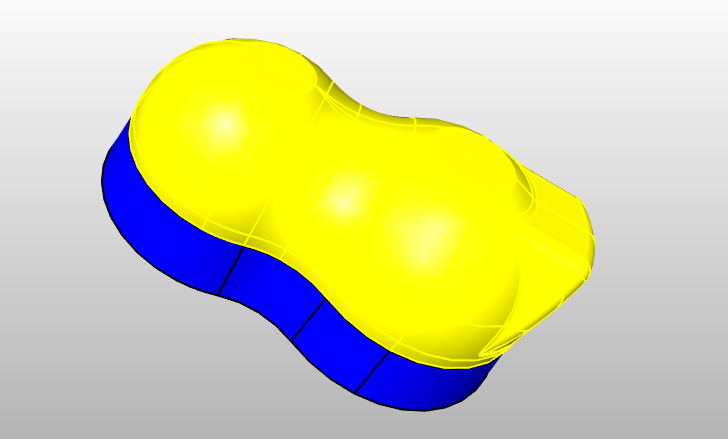
Identify the faces whose normals are not oriented outward.
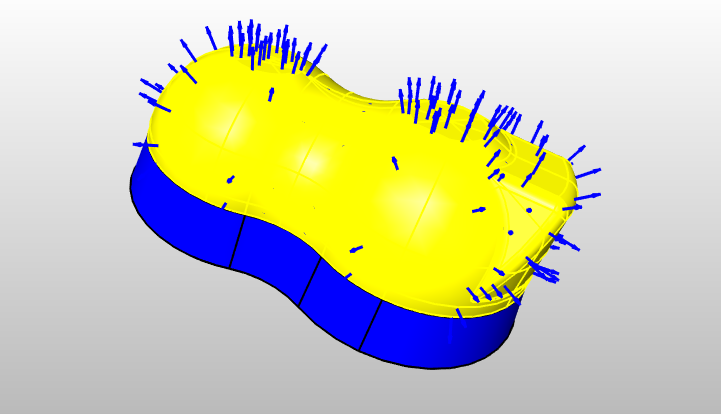
Select the incorrect faces one by one and click on the
Reversebutton from Property window to correct the normals.
The corrected normals of Gear box is shown below:
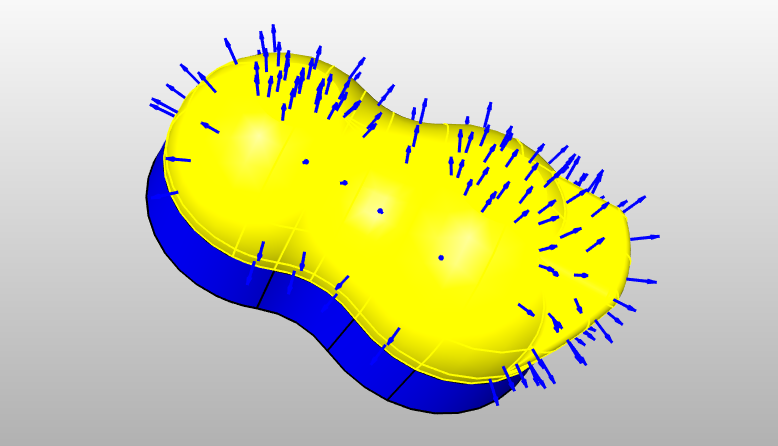
A.1.1.3 Shape extractions
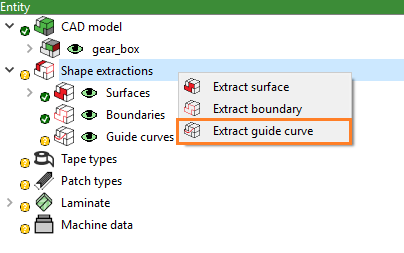
Extract surface
Right click on
Shape extractionsand click onExtraction surface.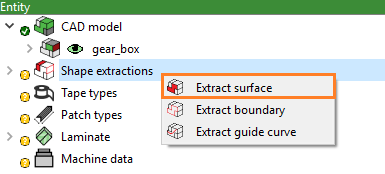
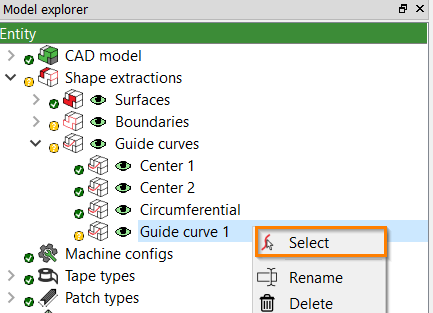
Right click on the created surface and click on
Select.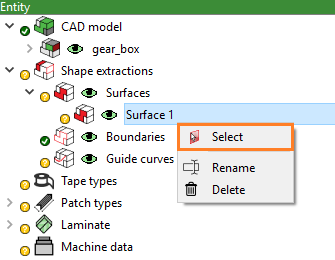
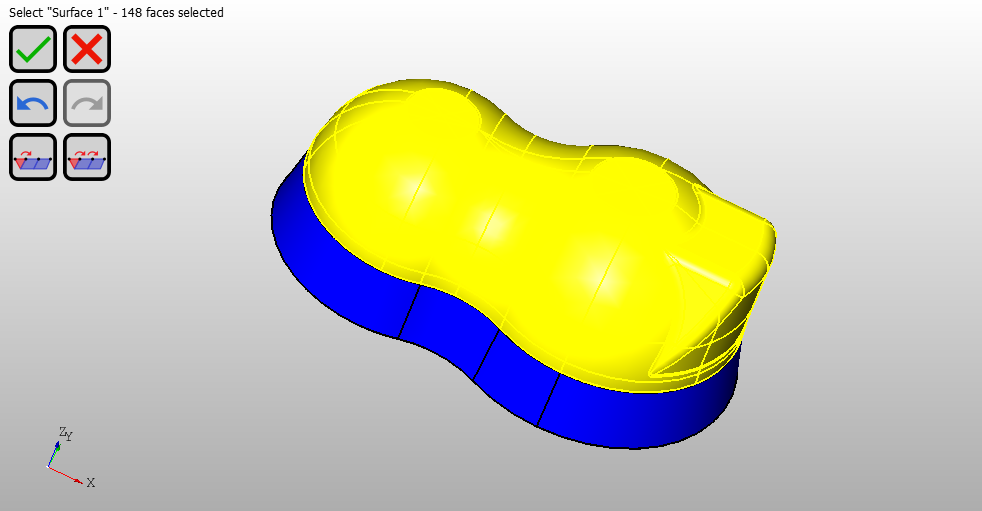
Extract surface from the model and then click on
 .
.
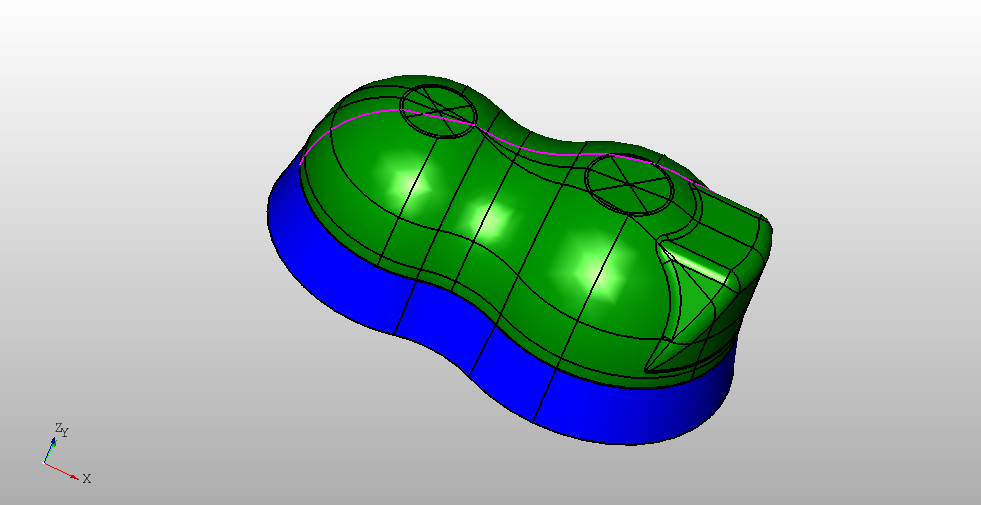
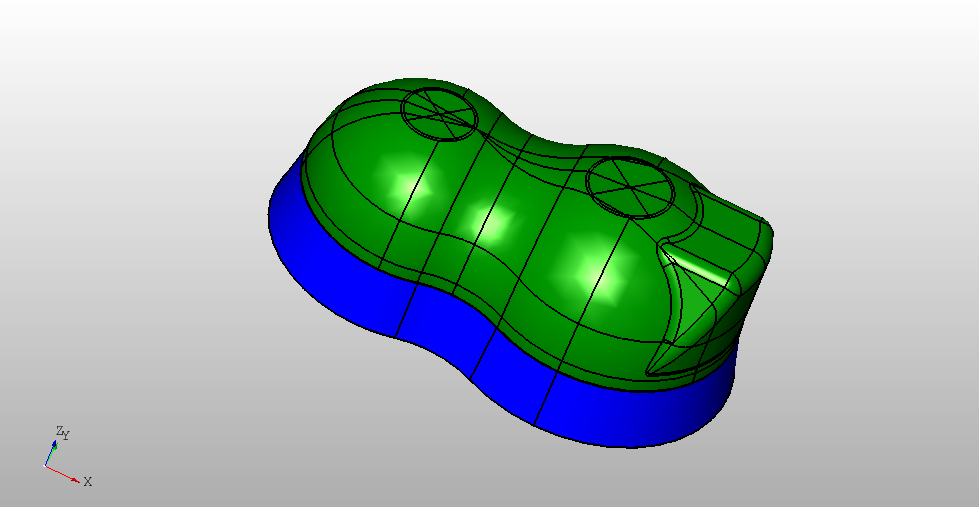
Surface is now extracted with the name Surface 1 as shown below:
Extract boundary
Patch Artist automatically extracts Patch boundary with respect to the extracted surface. You can also define your own boundary. In this example, we are using default boundary extracted by Patch Artist.
Extract master curve
A.1.1.4 Create tape
Right click on
Tape typesand click onCreate tape.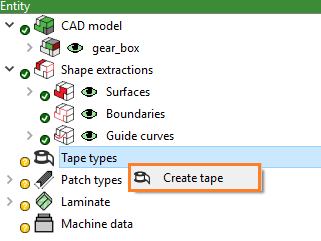
Tape is now created with the name Tape 1. You can edit Thickness and Width by changing their values in Property window.
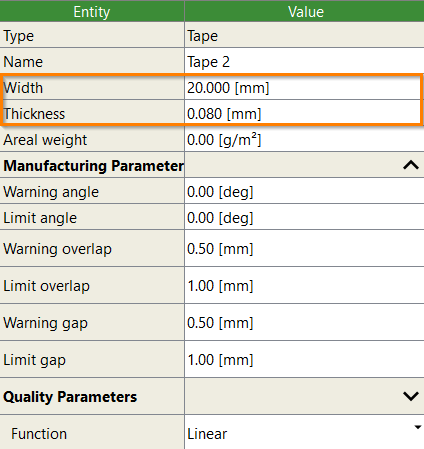
A.1.1.5 Create patch
Right click on
Patch typesand click onCreate patch.
Artist Studio will a patch with the name Patch type 1.
In property window,
select
Tapeof the patch.select
Shapeof the patchedit
Lengthof the patch.
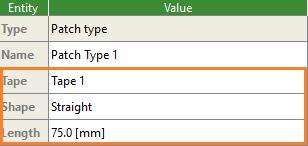
A.1.1.6 Create laminate
The Patch laminate is the root element in the hierarchical structure i.e laminate -> stack -> layer -> sublayer -> chain -> patch.
To create a laminate, follow the following steps:
Create patch stack
Right click on
Laminateand then click onCreate patch stack.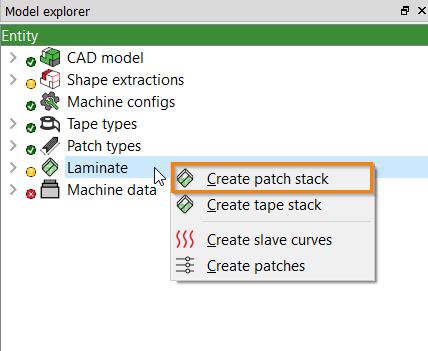
Stack is created with the name
Patch stack 1and entities as shown: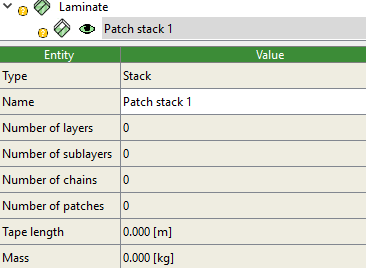
Create patch layer
Right click on Stack 1 and then click on
Create patch layer.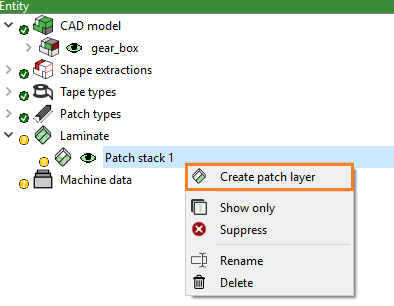
Layer is created with the name Patch layer 1.
Generating layup
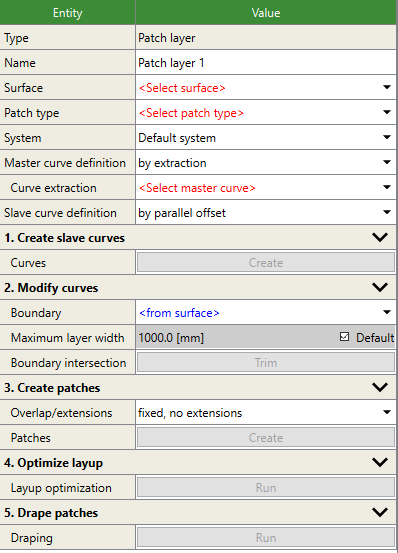
Property window of the created layer (Layer 1) as shown below consists of various entities for generating layup.
Follow this step-by-step approach to generate layup in Patch Artist:
Click on the entity Surface and select a surface from the drop-down list where you want to generate Slave curves.
Click on the value of the next entity Curve extraction and select a Master curve from the drop-down list.
Click on the value of entity Patch type and select a patch type from the drop-down list which you have created previously.
Create Slave curves
Click on the drop-down button to change the default parameters of Slave curves. Enter the values for Number of sublayers, Sublayer offset positions, Offset width and turn On or Off Trim edges at a turning point and then click on the
Createbutton.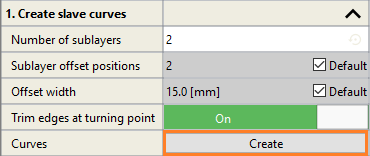
Modify curves
Enter the appropriate values for the entities Maximum layer width, Minimum curve length, Intersection Tolerance. After this click outside property window or press Enter key to modify Slave curves.
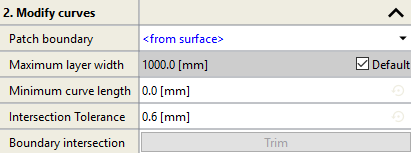
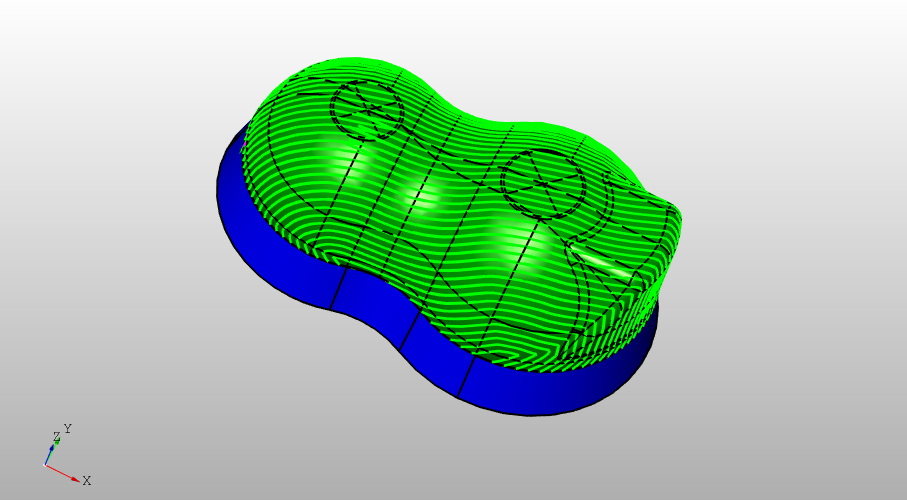
Slave curves are created as shown in the figure below:
Create patches
Click on the drop-down button to make changes in the default settings. Here,
Overlap/extensionsis set tofixed, with extensionsto cover the whole surface of the demonstrator with patches and which will also prevent gaps at the edges. Finally, click on theCreatebutton to generate patches.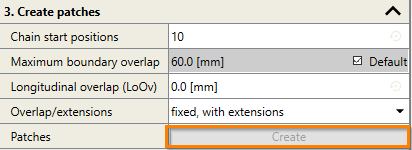
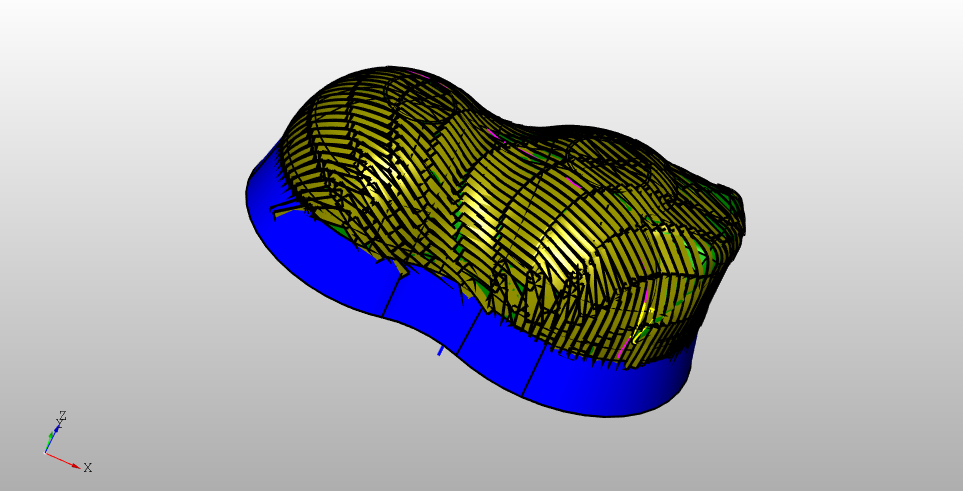
Patches are generated as shown below:
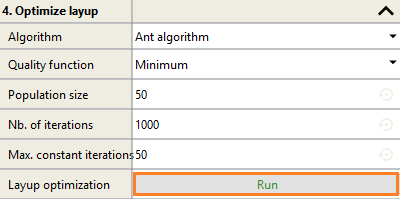
Optimize layup
Click on the
Runbutton to optimize the layup. You can make changes here depending on the requirements and the quality required.
A.1.1.7 Check quality of patches
Select
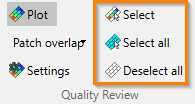
Plotfrom the group Quality review to view the quality of the layup generated.
Quality plot is generated for the layup:
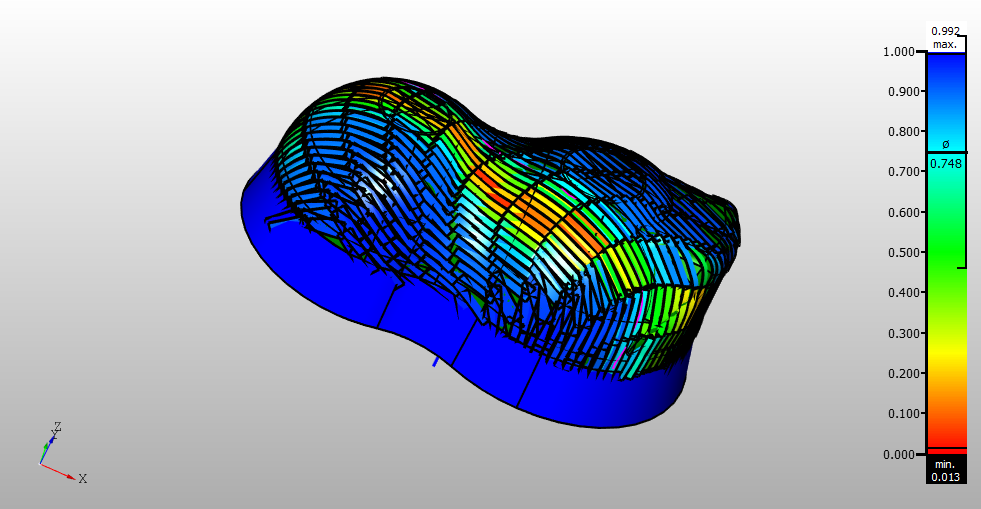
To plot the quality of a particular sublayer, select that sublayer and uncheck the other sublayers.

Colorplot is now plotted as follows:
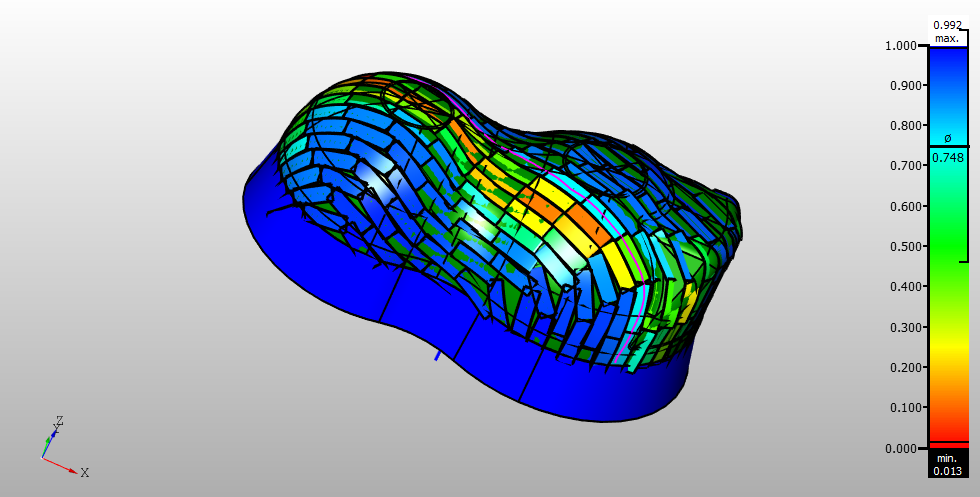
Use
Select,Select allorDeselect allfrom the Quality Review group to check the quality of a specific sublayer, chain or patch. TheSelecttool will act based on the chosen Picking type from that menu group.
A.1.2 Motion Artist
Click on the tab Motion Artist to simulate a manufacturing cell. Here are the steps to work with Motion Artist:
A.1.2.1 Select robot
Click on
Machine datafrom Model explorer.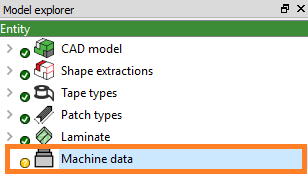
Select a robot from the Property window.
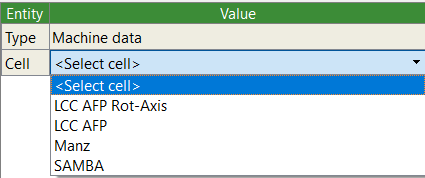
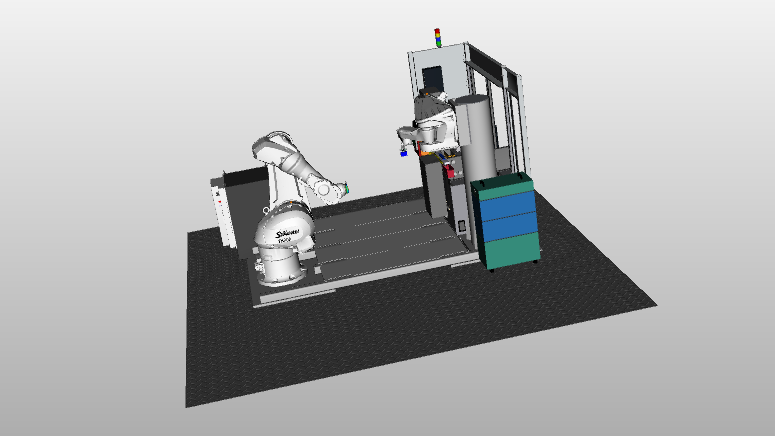
The selected manufacturing cell will appear on the screen as shown below:
A.1.2.2 Define mount points
Before we can simulate the manufacturing process, we must define the location of the tool relative to the cell (static tool) or relative to the system mount point.
Method 1: Assignment of a custom system
In Patch Artist, select the CAD model in the explorer, then go to its Systems, right click on them and choose Create system.
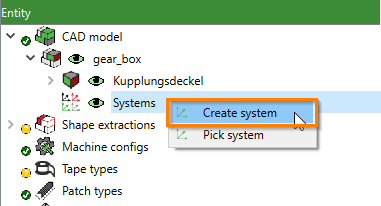
This coordinate system will serve as the
Mount point. Enter coordinates and the orientation of the mount point as measured in your CAD or in reality.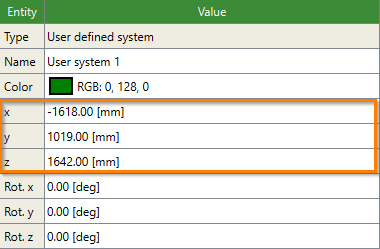
Afterwards, select the top-level CAD model from the explorer and choose the new system as its
Mount point.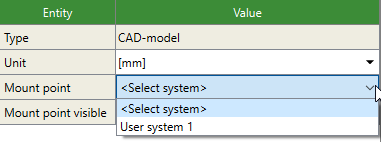
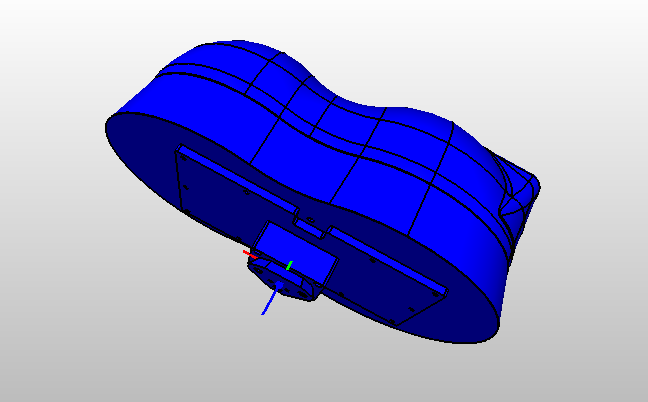
To see the mount point, you can toggle the Mount point visible property.

The Mount point is now defined on the model and can be visualized as shown below:
Method 2: Mount point calibration
Right-click on the Machine data item and open the Calculate mount point dialog.

Enter the following recorded robot joint values and Cartesian coordinates for point 1 as shown below.
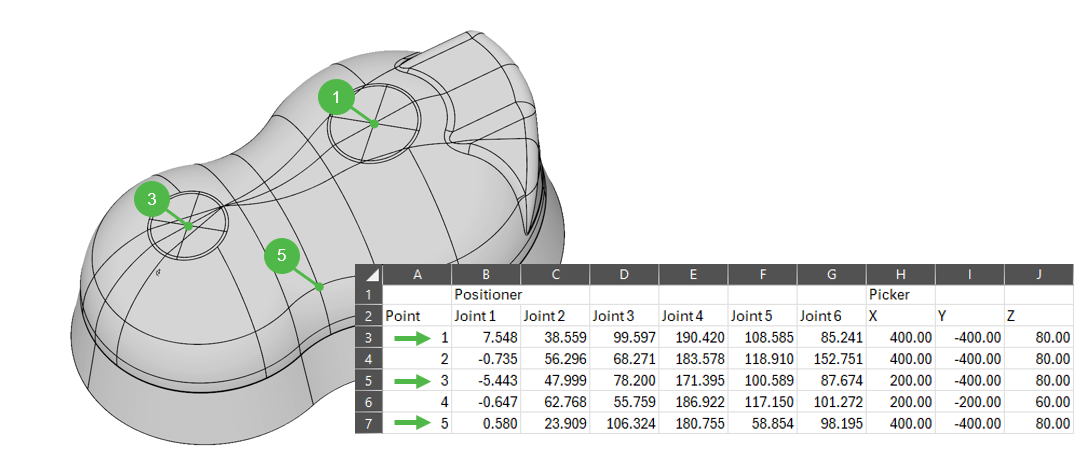
Select a SAMBA Pro machine configuration and use “World coordinates”.
Click on Select and choose the Patch Artist node that corresponds to the probing point.
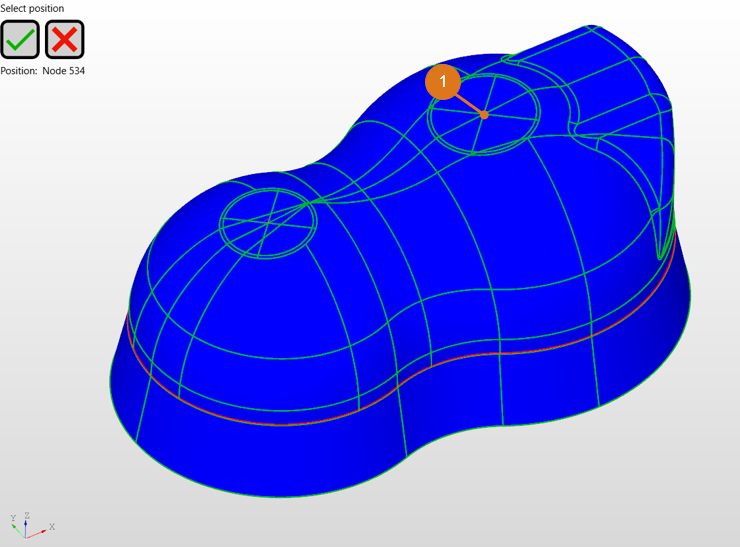
Repeat the procedure for point 3 and point 5 by entering the correct joint, position values and selecting the corresponding points.
After three unique points have been selected, run the calculation
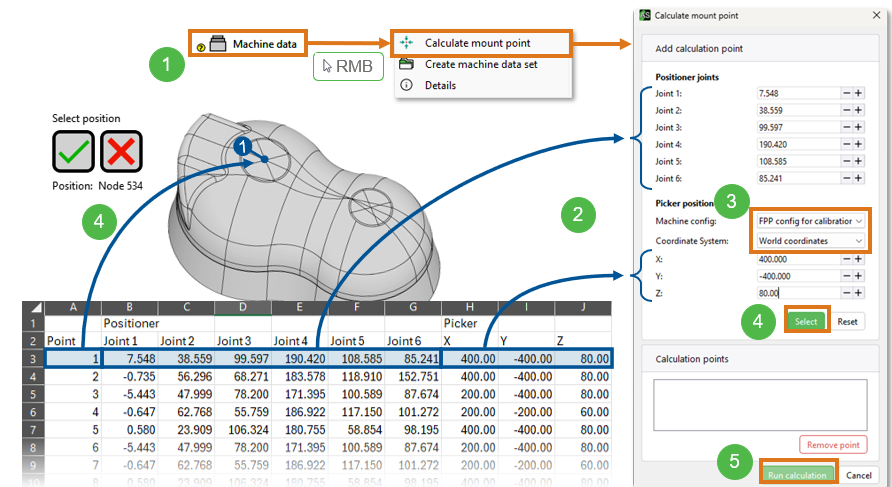
Fig. 2 Running the mount point calculation in ARTIST STUDIO.
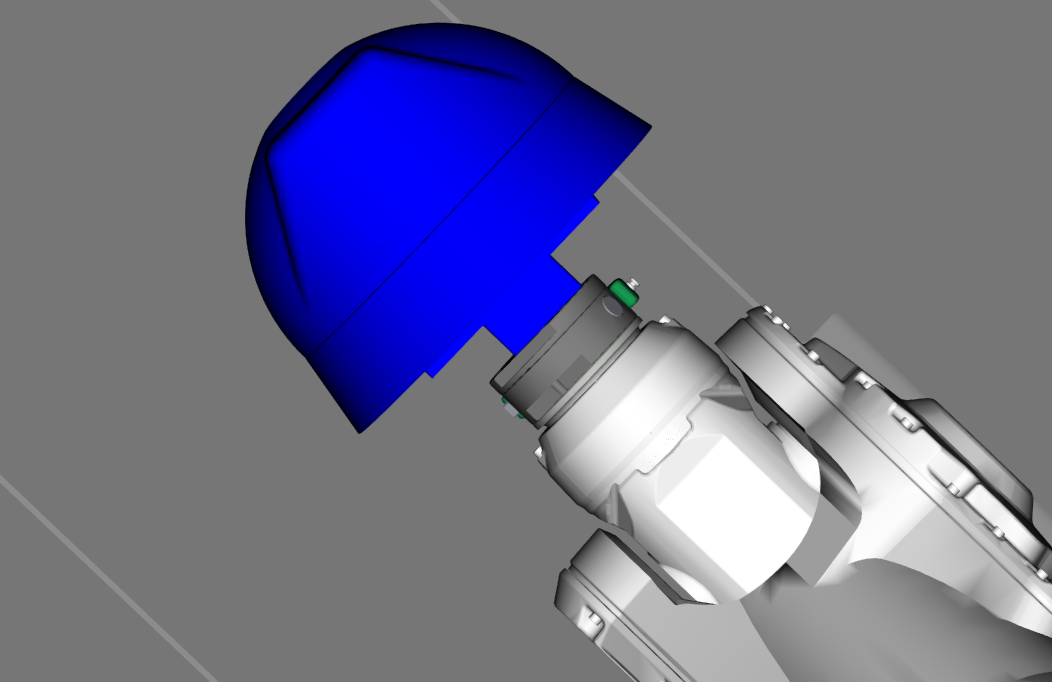
The tool should now be correctly attached to the gripper in Motion Artist as shown below.
A.1.2.3 Create Machine data
Right click on
Machine dataand selectCreate machine data set.
A dialog will appear for creating the machine data.
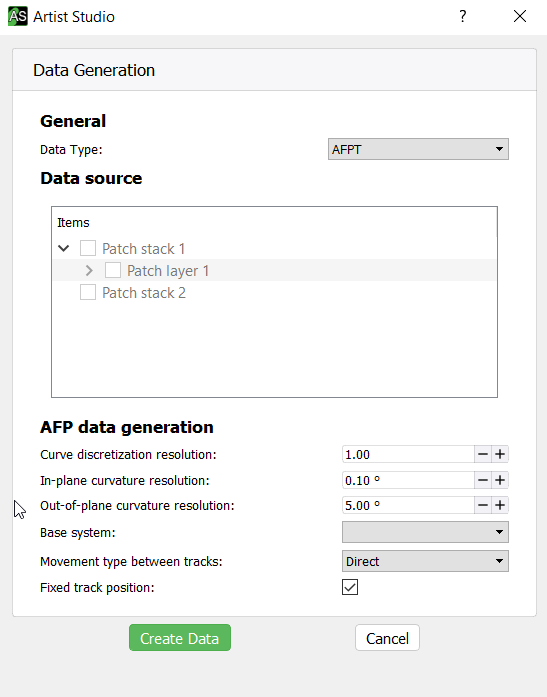
After choosing the appropriate settings click on the
Create databutton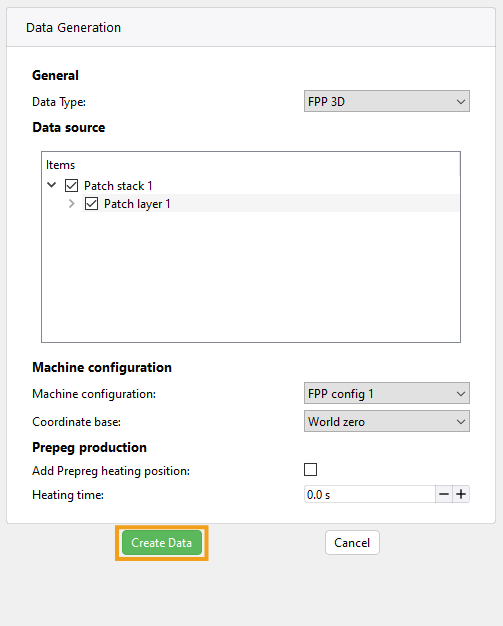
To make changes Right click on the created dataset and select
Recreate machine data set.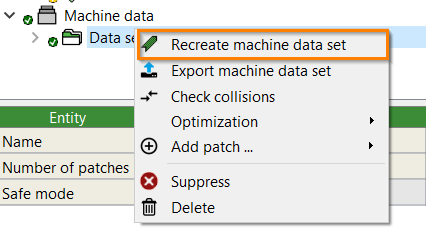
Right click on dataset and click on the option -
Optimization.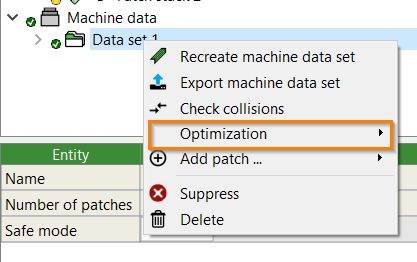
And then click on
Optimize movements.
A.1.2.4 Simulation
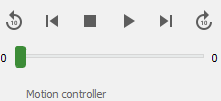
View simulation of the robot movements by playing Motion controller from Ribbon bar. You can visualize how positioner and picker axes are generating layups on the CAD model.
