4. User interface
Patch Artist is the laminate design module. It allows the user to define their layup as patch based laminate. Its user interface is designed to easily define layup zones on imported CAD surfaces, as well as layer size, layer orientations, layer thickness, tape width, patch length etc. After generating a patch-based laminate in Patch Artist, the user can optimize and simulate the robot movements in order to program a manufacturing cell offline. Let’s begin by understanding the main window of Artist Studio. This part describes various components of the main window:
Menu bar
Ribbon bar
Model explorer
Viewport
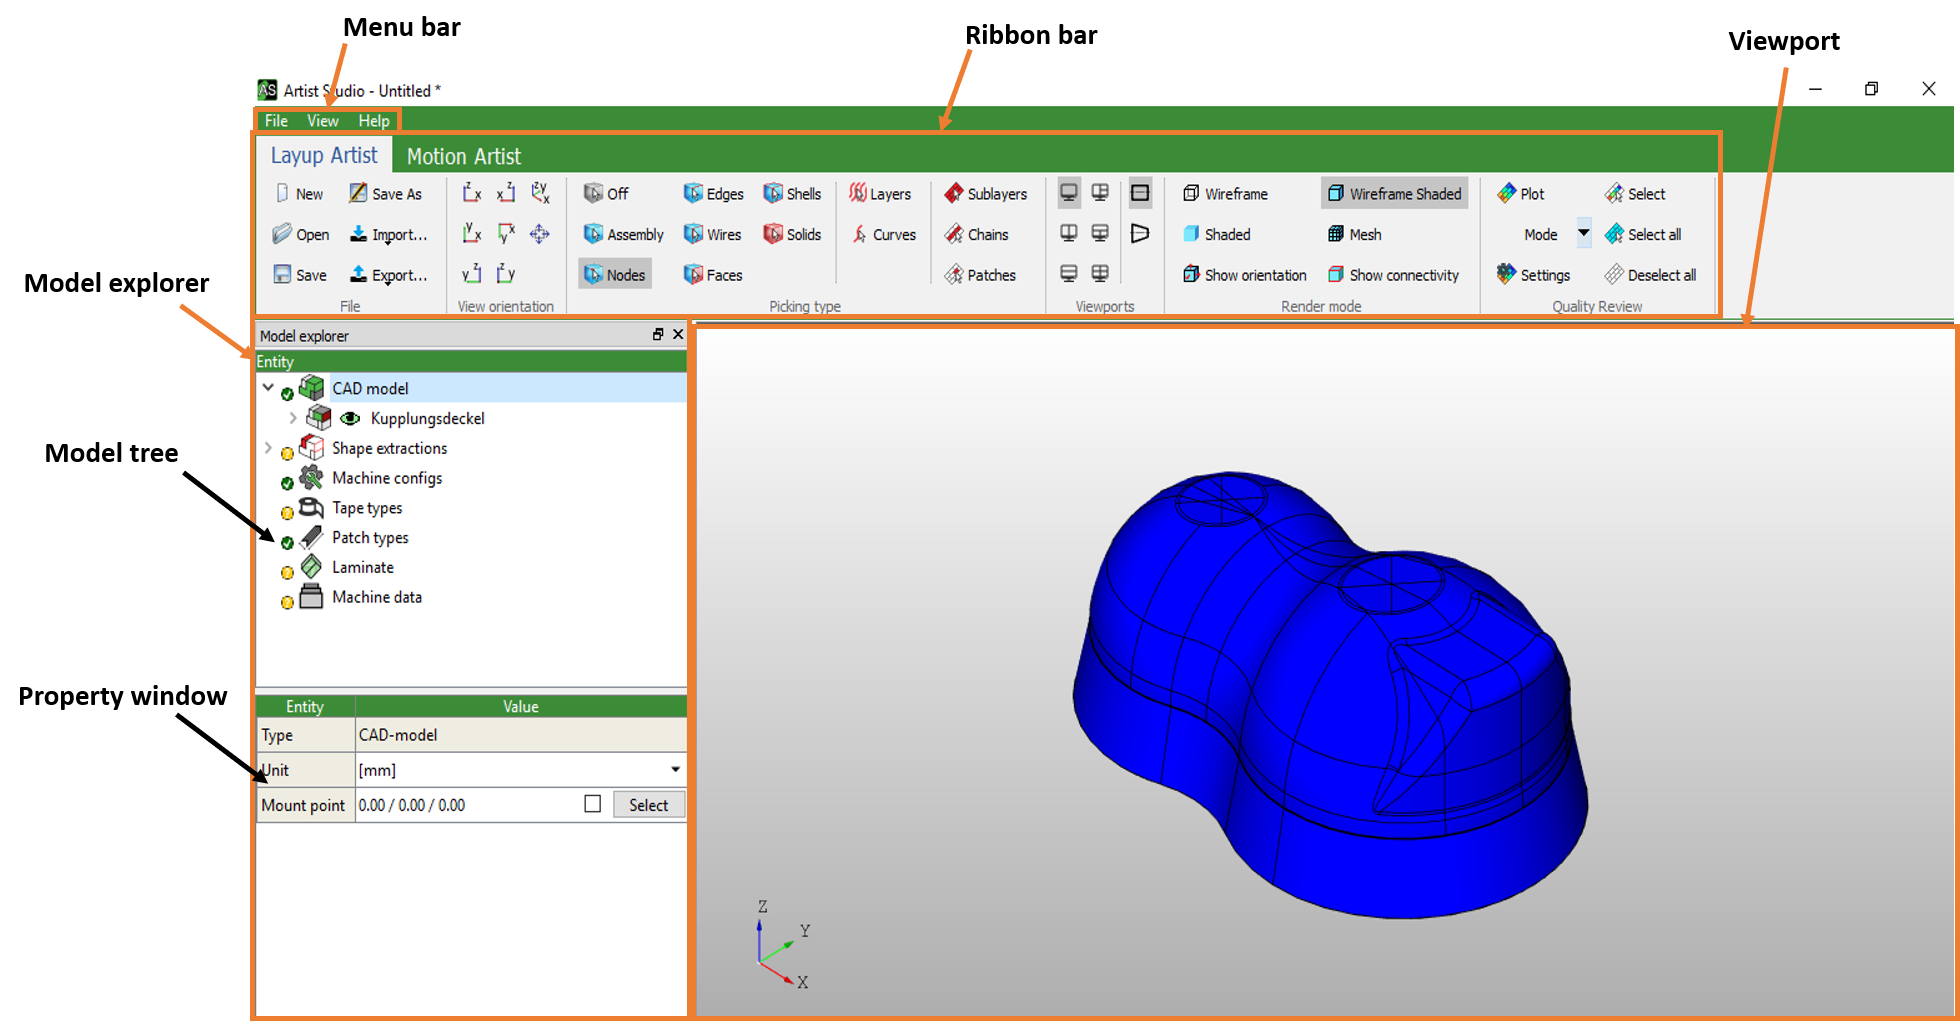
Fig. 4.1 User interface of Artist Studio
4.2. Ribbon bar
4.2.1. Patch Artist
Patch Artist provides a Ribbon bar which contains many tools which are shown in the figure below:

Fig. 4.5 Ribbon bar
It is organized into three components:
Tabs - They are present at the top of Ribbon bar. These tabs provide groups of various tools for quick usage. Patch Artist and Motion Artist are the two tabs available in the green ribbon.
Groups – They are groups of related commands. The name of each group is given at the bottom of every group. For example, group of orientation commands, group of picking type commands etc.
Commands – Each group contains commands related to each other. For example, wireframe, shaded, mesh etc in Render mode.
4.2.1.1. File or Quick access toolbar
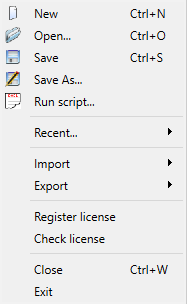
This group provides a quick and an easy access to the frequently used tools and the commands of the File menu such as New, Open, Save or Save As.

Fig. 4.6 File or Quick access toolbar in ribbon bar

|
New |
Create a new FPP file |

|
Open |
Open a project |

|
Save |
Save new changes |

|
Save as |
Save the current file with a different file name |

|
Import |
Import any 3D model such as step, brep, stl, ides etc |

|
Export |
Export 3D model to reconstruct or remodel |
4.2.1.2. Laminate-data snapshots
Laminate-data snapshots enable quickly storing snapshots of a laminate, and later restoring the laminate to such a stored state. To use this feature you need to enable it explicitly, see Laminate-data snapshots .

Snapshots store data of
tapes
patch types
and the laminate (stacks, layers, sublayers, curves, chains, and patches).
Visibility, colors, and suppression of laminate items are stored in snapshots. But note that which items are selected in the tree, and which branches of the tree are open is not stored nor restored.
Snapshots are a help tool while Artist Studio is running. They are stored only in memory, and once you close Artist Studio, they are gone. In particular, they are not saved in an fpp file.

|
Create a new snapshot. You will be asked for a name by which you want to
recognize this snapshot.
|

|
Show a drop-down with a list of all snapshots. They are shown in the order in
which they were created, the newest on the top. The last created or restored
snapshot is marked by |

|
Restore the last created or restored snapshot. The same as selecting the snapshot
marked by the same icon in the drop-down list.
|

|
Delete all snapshots from memory.
|
Note that restoring a snapshot will replace your current laminate with the snapshot data. Remember to create a new snapshot before this action if you want to be able to switch back to it.
We store a maximum of 15 data snapshots. Once you create the 16th, the oldest snapshot gets automatically deleted from memory.
Limitations:
Extractions are not stored in laminate snapshots.
You can create new extractions, but you cannot delete any - if you choose to do so, you will see a warning, and if you decide to continue all snapshots will get deleted.
If there are any data-set patches connected to laminate patches, laminate snapshots are disabled, but old snapshots are kept in memory. If at a later moment you delete all machine-data sets, laminate snapshots will be re-enabled and your old snapshots will become available (until you close Artist Studio).
4.2.1.3. View orientation

Fig. 4.7 View orientation in Ribbon bar
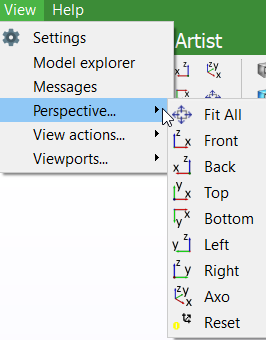
In Artist Studio,the user can view their model from different orientations to work efficiently. Various orientations possible are shown below:

|
View ZX plane |

|
View XY plane |

|
View ZY plane |

|
View XZ plane |

|
View YX plane |

|
View YZ plane |

|
View XYZ plane |

|
Fit to screeen |
4.2.1.4. Picking type

Fig. 4.8 Picking type in Ribbon bar
Every 3D model consists of various nodes, shells, solids, wires, faces. The user can view different parts of the 3D model with the help of various tools present in Picking type.

|
Turn off the picking selection |

|
Select assembly |

|
Select nodes |

|
Select edges |

|
Select wires |

|
Select faces |

|
Select shells |

|
Select solids |

|
Select layers |

|
Select curves |

|
Select sublayers |

|
Select chains |

|
Select patches |
4.2.1.5. Viewports

Fig. 4.9 Viewports in Ribbon bar
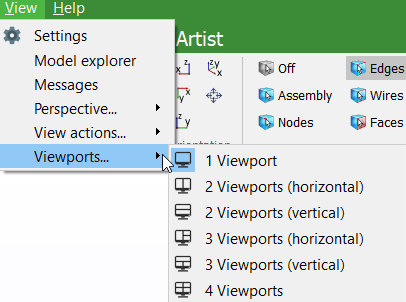
Viewport in Artist Studio can be divided into more parts to view different orientations of the model on the one window altogether.

|
Show model in one single frame |

|
Split viewport vertically into two parts |

|
Split viewport horizontally into two parts |

|
Split viewport vertically into two parts and divides one vertical part into two horizontal parts |

|
Split viewport horizontally into two parts and divides one horizontal part into two vertical parts |

|
Split viewport into four parts |
4.2.1.6. Render Mode

Fig. 4.10 Render mode in Ribbon bar
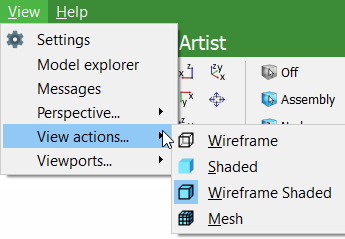
There are different modes available to view the model such as wireframe, mesh, shaded etc.

|
Show wireframe (skeletal view) |

|
Show shaded view |

|
This is a default mode to view the model. It is a combination of wireframe and shaded mode |

|
Show model as a network of wires(mesh) |

|
Show orientation of the faces |

|
Show connectivity in the model |
4.2.1.7. Quality review

Fig. 4.11 Quality review in Ribbon bar
This option can be used to check and maintain the quality of the final outcome. Visualize laminate quality by color plots, color-coding patches according to the selected quality metric. For a description of the available metrics see Visualization of laminate properties and quality review. Use the following tools to adjust the plot:

|
Plot the quality of preform |

|
To change settings so as to maintain the quality of the final outcome |

|
Show the plot quality of chains |
4.2.1.8. Versioned freezing

Fig. 4.12 Versioned freezing in Ribbon bar
This feature can be used to ‘freeze’ different components of the fpp file, such as CAD, Laminate, or Machine data. After a component is frozen, no changes to this component are possible. Every change to the freezing state is versioned and can include a comment. Version history is also available for review.
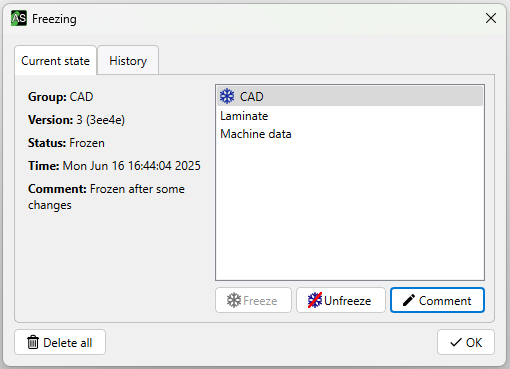
Fig. 4.13 Freezing dialog
4.2.2. Motion Artist
Motion Artist also provides a Ribbon bar which contains necessary tools to simulate a CAD model.

Fig. 4.14 Ribbon bar
The ribbon bar is organized into three components:
Tabs – They are present at the top of the Ribbon bar. These tabs provide groups of various tools for quick usage. Patch Artist and Motion Artist are the two tabs available in the green ribbon.
Groups – They are groups of related commands. The name of each group is given at the bottom of every group. For example, group of positioner axes commands, group of picker axes commands etc.
Commands – Each group contains commands related to each other.
4.2.2.1. Positioner axes
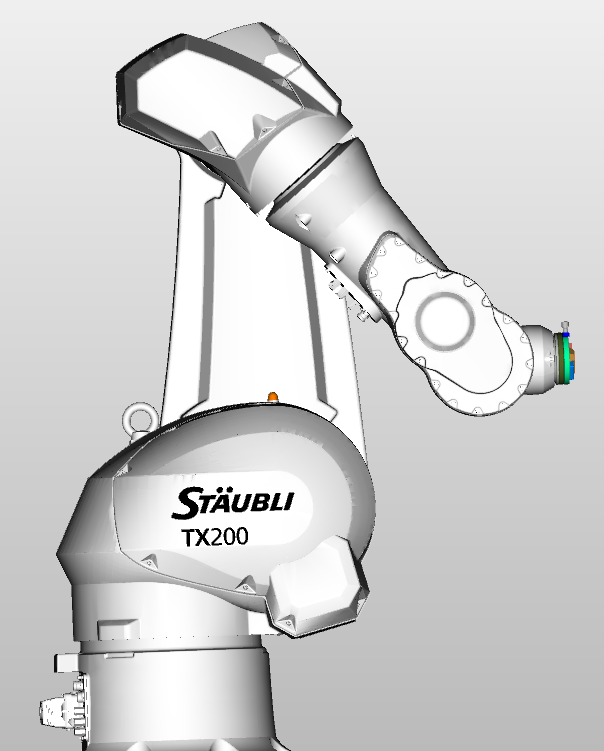
Fig. 4.15 Positioner
The positioner is a 6-axes-robot. The CAD model is mounted on the tool flange of Positioner axes. The user can also correct manually the robot movements.

Fig. 4.16 Positioner axes in Ribbon bar
4.2.2.2. Picker axes
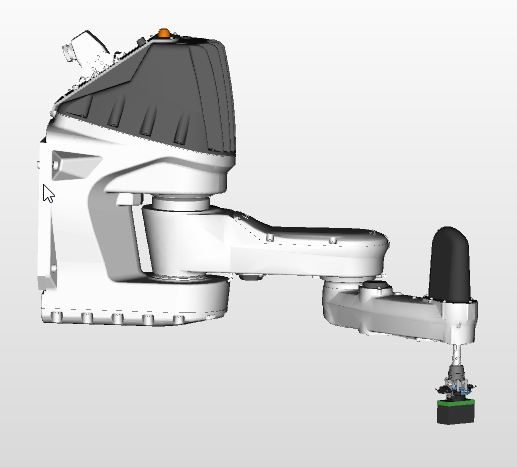
Fig. 4.17 Picker
Another manufacturing cell is known as Picker. It has 4 joints which gives cell 4 degrees of freedom. This manufacturing cell is equipped with a patch gripper which is responsible for placing patches on the CAD model. Within this option, the user can also correct manually the robot movements.

Fig. 4.18 Picker axes in Ribbon bar
4.2.2.3. Motion controller

Fig. 4.19 Motion controller in Ribbon bar
With Motion controller, the user can view the simulation of the manufacturing cell movements. It contains tools such as play, pause, stop, move forward and backward to visualize the movements.
Table 4.8 Motion controller 
Go back 10 patches

Go back 1 patch

Stop motion controller

Play motion controller

Pause motion controller

Move forward 1 patch

Move forward 10 patches
4.2.2.4. Miscellaneous

Fig. 4.20 Miscellaneous in Ribbon bar
In this group Robot settings and calibration can be changed. See chapter on Robot movements.
4.3. Model explorer
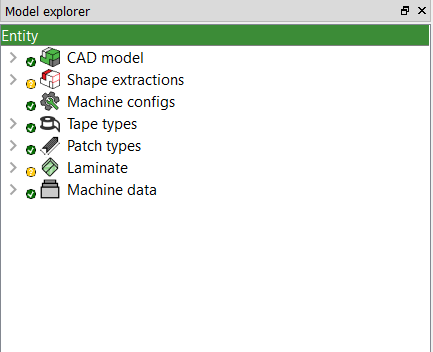
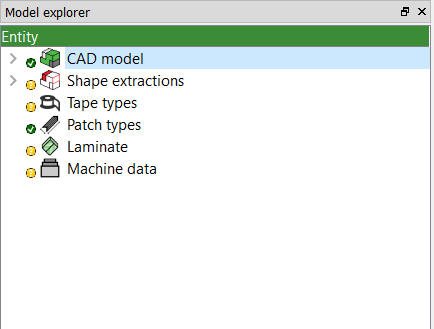
Model explorer is a place where user can define the layup of patches to generate Machine data. Model explorer consists of two parts:
Model Tree – This is a drop-down tree consisting of various tools to create patch layups. Here, you can describe surface, boundaries, curves, style of patches and many more.
Property Window – This window of Artist Studio displays properties of the selected geometry of the model.
4.4. Viewport
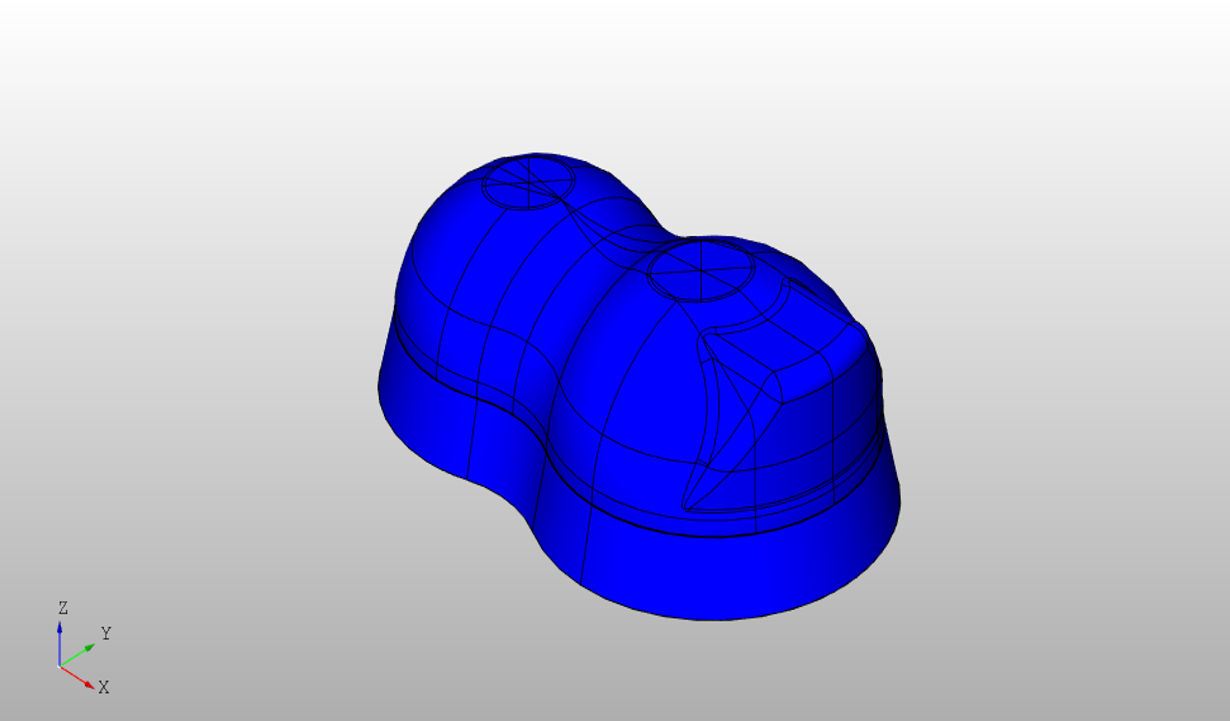
Viewport in Artist Studio is a part where the user can see and create their FPP model. The user can also enable multi viewports depending upon the requirements. Artist Studio also provides various tools such as rendering style, rendering mode as described above to view models in different modes and styles.
